When it comes to interior painting Massachusetts, the proper techniques are similar to those used for interior painting in general. Here are some key steps to follow for a successful interior painting project:
- Prepare the Room: Start by clearing the room of furniture, decorations, and any other items that could get in the way of painting. Cover the floors and any remaining furniture with drop cloths or plastic sheeting to protect them from paint drips or spills.
- Clean the Surfaces: Thoroughly clean the walls and other surfaces you plan to paint. Remove any dust, dirt, or grease using a mild detergent and warm water. For stubborn stains, you may need to use a specialized cleaner or spot treatment. Rinse the surfaces well and allow them to dry completely.
- Repair and Patch: Inspect the walls for any cracks, holes, or imperfections. Repair these areas using spackling compound or a suitable wall patching product. Once the patches are dry, sand them smooth with fine-grit sandpaper. Wipe away any dust with a clean cloth.
- Protect Trim and Surfaces: Use painter’s tape to protect trim, baseboards, window frames, and other areas you don’t want to paint. Make sure the tape is properly adhered to create clean lines. Also, consider using plastic sheeting or masking paper to cover larger areas like windows and built-in shelves.
- Prime the Walls (if necessary): If you’re painting over bare drywall or if the existing paint is heavily stained or has a glossy finish, it’s advisable to apply a coat of primer. Primer promotes better adhesion, improves color uniformity, and helps the paint achieve its true color. Follow the manufacturer’s instructions for application and drying times.
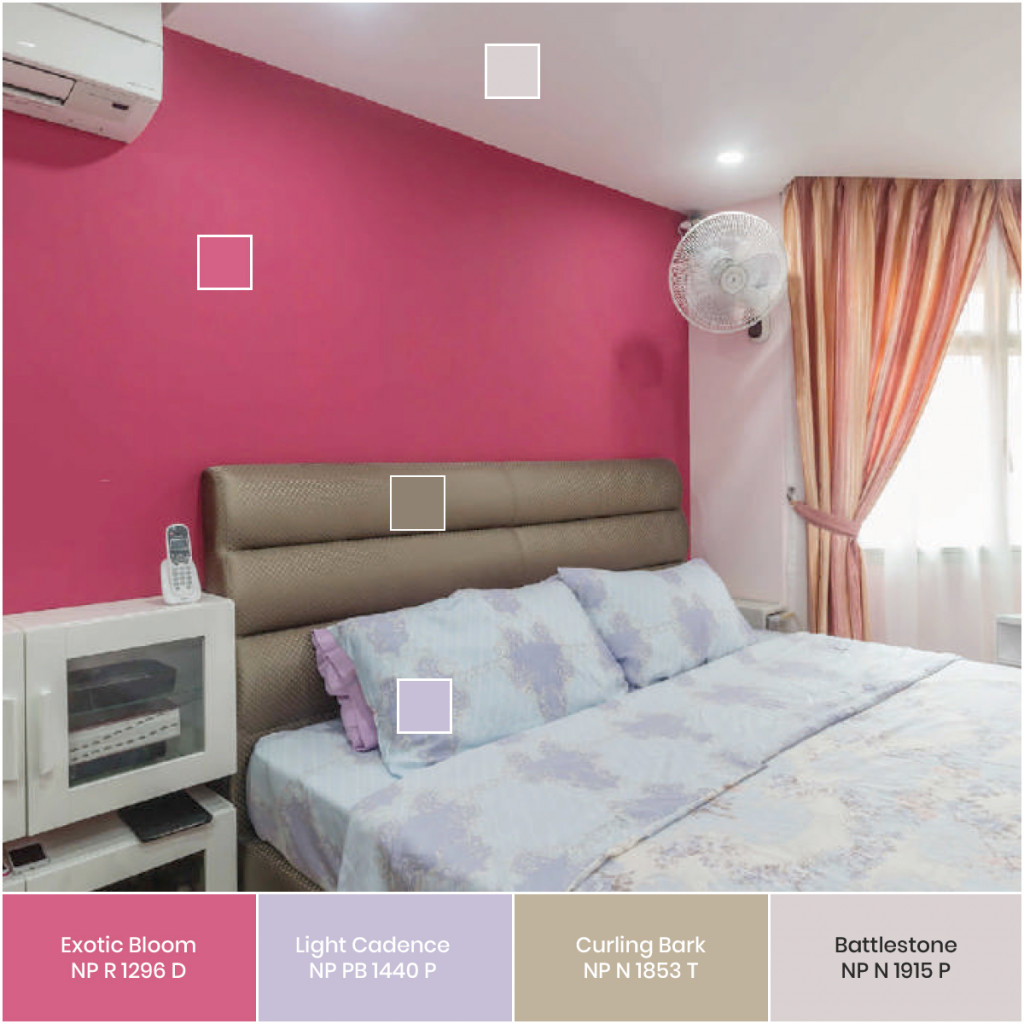
- Choose the Right Paint: Select a high-quality interior paint that is suitable for the specific surfaces you’re painting. Consider factors such as the desired finish (e.g., matte, eggshell, satin), color, and any special requirements (e.g., washability, low VOC). Consult with paint professionals at local stores to find the right paint for your needs.
- Cut-In and Trim Work: Begin by cutting in the edges of the walls using a brush or an angled paintbrush. This involves carefully painting along the ceiling, corners, and trim to create clean lines. Work in small sections and blend the cut-in areas with the roller-applied paint to achieve a seamless finish.
- Roll the Walls: Use a roller and a roller tray to apply paint to the larger areas of the walls. Start from the top and work your way down, using a “W” or “M” pattern to evenly distribute the paint. Avoid applying too much pressure, as it can create roller marks. For best results, work in small sections and maintain a wet edge to avoid visible lines or overlaps.
- Apply Additional Coats: Depending on the paint color and the desired coverage, you may need to apply additional coats. Allow each coat to dry completely before applying the next one. Follow the manufacturer’s instructions for recommended drying times between coats.
- Clean Up and Inspect: Once you’ve finished painting, remove the painter’s tape while the paint is still slightly wet to achieve clean edges. Clean your brushes, rollers, and other tools with soap and water or according to the paint manufacturer’s instructions. Inspect the painted surfaces for any touch-ups or areas that may require further attention.
By following these proper techniques, you can achieve a professional-looking interior painting project in Massachusetts or any other location.